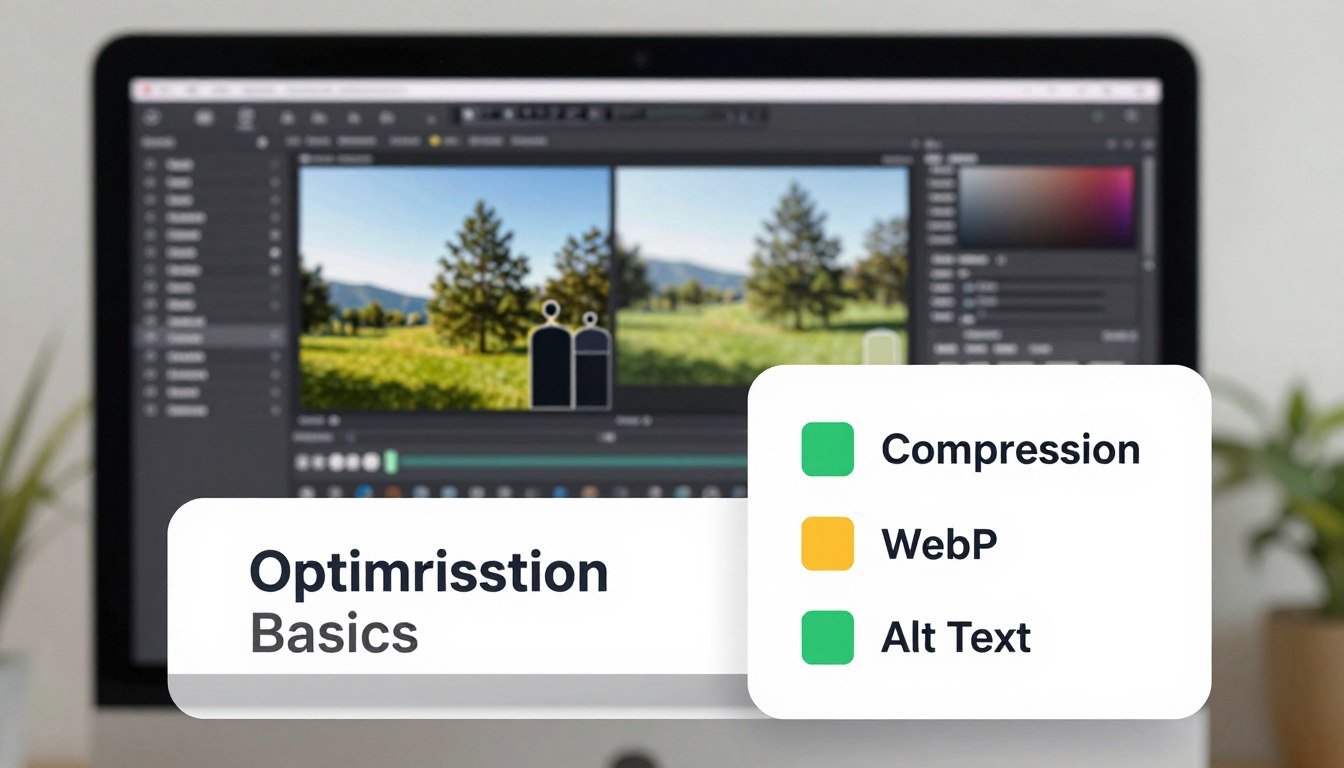
Image Optimization Basics: Proven Checklist for Compression, WebP, and Alt Text
Imagine Dave. He just launched a vibrant travel blog with stunning photos from his Mexican vacation. He uploaded a massive 20MB file of a delicious taco he ate in Cancun.
The picture looks incredible, but it takes nearly three minutes to load on a mobile device. Dave waits, his readers wait, and even Google’s search bots are probably taking a nap while his page chugs along. He is losing visitors faster than a melting ice cream cone in the July sun.
Poor Dave didn’t realize that image optimization basics are the secret sauce of a successful, fast-loading website. It is not just about choosing pretty pictures; it is a technical discipline that ensures your site remains lean and functional. Think of your web presence like a suitcase for a weekend getaway.
If you pack a giant rock, you won’t get through airport security quickly. Using modern formats like WebP and applying smart compression keeps your digital luggage light. It turns a clunky, frustrating gallery into a high-speed experience for every single visitor.
Plus, image SEO helps search engines actually “see” and categorize what is happening in your colorful photography. When you follow a proper alt text SEO checklist, you give your visual content a clear, descriptive voice. This hits every major metric from site performance to overall user joy.
Do not let your hard work end up like Dave’s Cancun taco—stuck in a loading loop forever. Mastering these simple technical tweaks will ensure your visuals attract eyes without slowing down the journey. Let’s dive into the essential steps to make your site lightning fast and search-friendly.
Table of Contents
Key Takeaways
- Shrink file sizes significantly to boost overall page loading speed.
- Adopt WebP formats for superior quality with smaller digital footprints.
- Write descriptive alt text to improve accessibility and search engine visibility.
- Use keyword-rich filenames instead of generic camera-generated numbers.
- Ensure all visual elements are responsive to accommodate mobile device users.
- Balance compression levels to maintain visual clarity without bloating files.
Why Image Optimization Basics Matters in Web Design
Image optimization is key in web design. It affects how fast your pages load and how easy they are to use. Your site’s images are often the biggest and heaviest part. If they’re not optimized, they slow down your site and make visitors leave.
Optimizing images is about finding a balance between looks and speed. A good image makes your site look great and loads quickly. This is important for keeping users happy and improving their user experience.
The Impact on Page Load Speed
Page speed is very important in web design. Images are a big part of this. Big, unoptimized images can make your site slow, which frustrates users and might lose them.
By making images smaller, you can make your site load faster. This makes your site more responsive. Experts say optimizing images is not just about speed. It also affects image SEO and the overall user experience.
User Experience and SEO Benefits
Image optimization does more than just speed up your site. It also makes your site more user-friendly and engaging. Plus, search engines like Google look at page speed and user experience when ranking sites. This makes image optimization a must for image SEO.
By optimizing your images, you can make your site more visible in search results. This can bring in more traffic and possibly more sales.
In short, image optimization is vital for web design. It greatly affects user experience and SEO. By understanding its importance and using good optimization strategies, you can make your site faster, more engaging, and more visible.
Understanding Different Image Formats
Image formats vary in their strengths and uses. Picking the right one is key for quality and size. This affects your website’s speed and user experience.
JPEG vs PNG: The Great Debate
The debate between JPEG and PNG has been ongoing. JPEG is best for photos because it compresses well without losing much quality. PNG is better for graphics and images needing transparency.
JPEG is great for photos where a bit of quality loss is okay. PNG keeps quality for things like logos and icons.
When to Use GIFs and SVGs
GIFs are perfect for simple animations and are widely supported. They add humor or highlight points in an engaging way.
SVGs, or Scalable Vector Graphics, are ideal for logos, icons, and graphics that need to scale without losing quality. They’re also good for interactive elements and animations.
Enter WebP: The Future of Web Images
WebP is a modern format that offers both lossy and lossless compression. It supports transparency and animations, making it versatile for web images.
WebP’s superior compression means smaller file sizes than JPEG, PNG, and GIF. This makes it a great choice for faster page loads without losing quality.
The Art of Image Compression
Image compression is about making images smaller without losing quality. Google says page speed is key for a good user experience and better search rankings. Faster pages mean happier users and better SEO.
It’s a fine line to walk: making images smaller without losing quality. This is done through different compression methods.
Lossy vs Lossless Compression
There are two main types of image compression: lossy and lossless. Lossy compression makes images smaller by removing data. JPEG is a lossy format.
Lossless compression makes images smaller without losing any data. PNG and GIF are lossless formats. The right choice depends on the image and its use.
Tools for Effective Image Compression
Many tools can help compress images well. Some top ones are:
- TinyPNG
- ImageOptim
- ShortPixel
These tools offer various options, including batch processing, to make your work easier.
Guidelines for Image Size
There’s no single answer for image size. But here are some general tips:
| Image Type | Recommended Size |
|---|---|
| Blog Post Images | Under 100 KB |
| Hero Images | Under 500 KB |
Learning image compression can greatly improve your website’s speed and user experience. Remember,
“A picture is worth a thousand words.”
But on the web, a compressed image is worth a thousand faster page loads.
Crafting Perfect Alt Text
Alt text is a key part of image optimization. It’s a written description of an image. It helps both accessibility and SEO. Search engines use it to understand what the image is about.
Why Alt Text is Essential for SEO
Alt text is essential for SEO. It helps search engines get what an image is about. Without it, they might not get it right, which can hurt your page’s SEO.
For example, if you have a product image on a page, use the product name and description in the alt text. This helps search engines understand the image better. It also makes your page more visible in search results.
Best Practices for Writing Alt Text
Writing good alt text is about being clear, concise, and SEO-friendly. Here are some tips:
- Be descriptive but brief: Keep your description short and to the point.
- Include keywords: Add relevant keywords if they fit naturally.
- Avoid stuffing: Don’t force keywords into the text.
- Consider the context: Make sure the alt text fits the image’s role on the page.
Avoiding Common Pitfalls
There are common mistakes to avoid when writing alt text. These include:
- Using the same alt text for different images.
- Not using alt text at all.
- Making it too long or too short.
- Stuffing it with irrelevant keywords.
By avoiding these mistakes and following best practices, you can make alt text that boosts both accessibility and SEO.
Responsive Images: Why They Matter
As people use different devices to visit websites, the need for responsive images grows. Websites must adjust their images for various screen sizes and resolutions. This ensures a great viewing experience for everyone.
Responsive images are essential in web design today. They make sure images look good on all devices, from phones to computers. They also keep the website fast to load.
Using srcset for Different Devices
The srcset attribute is a key tool for responsive images. It lets developers show different images based on the device’s screen size. For example, a smaller image for phones and a bigger one for computers.
To learn more about srcset, check out MDN Web Docs on Responsive Images.
The Role of Viewport in Image Loading
The viewport is important for image loading on webpages. It defines what part of the webpage is visible. This helps the browser know which images to load first.
Using srcset with viewport settings can make images load faster. Images not in view can be loaded later, making the page load quicker.
Adding responsive images to your website improves user experience and SEO. It makes your website more efficient and welcoming to all users.
How File Naming Influences SEO
The filename of an image is more than just a label; it’s an SEO opportunity waiting to be seized. Search engines don’t just look at the image itself. They also examine the filename to understand its context and relevance.
SEO experts say, “Your filename is your very first chance to tell Google what an image contains, transforming a random string of characters into a powerful, keyword-rich signal.” This shows how important it is to choose the right filename for your images.
Keyword Research for Image Names
Conducting thorough keyword research is essential for optimizing image file names. You need to find relevant keywords that accurately describe the image and match what users might search for.
To do this effectively, consider the following steps:
- Identify the main topic of the image
- Brainstorm a list of relevant keywords
- Use keyword research tools to refine your list and identify the most relevant and high-traffic keywords
For example, if you have an image of a sunset over a beach, relevant keywords might include “sunset,” “beach,” “coastal scenery,” or “ocean view.”
Dos and Don’ts of File Naming
When it comes to file naming, there are several best practices to keep in mind. Here are some key dos and don’ts:
| DO | DON’T |
|---|---|
| Use descriptive and concise file names | Use generic or vague file names (e.g., “image1.jpg”) |
| Include target keywords | Overstuff file names with keywords |
| Use hyphens to separate words | Use underscore or spaces in file names |
By following these guidelines and incorporating relevant keywords into your image file names, you can improve your website’s SEO. This will also enhance the visibility of your images in search engine results.

As Google’s own guidelines suggest, using descriptive file names can help improve the accessibility and search engine ranking of your images. So, taking the time to optimize your image file names is a worthwhile investment in your website’s SEO strategy.
Image Sitemaps: An SEO Secret Weapon
Image sitemaps are a powerful tool for your website’s visibility. They help search engines understand your site’s images better. This can boost your site’s SEO.
An image sitemap is an XML file that lists your website’s images. It includes metadata like captions and descriptions. This helps search engines like Google index your site more accurately.
How to Create an Image Sitemap
Creating an image sitemap is easy. First, find all the images you want to include. Then, collect their metadata like titles and descriptions.
- Gather Image Information: Collect URLs of all images you want to include, along with their metadata.
- Create an XML File: Use the gathered information to create an XML file structured according to Google’s guidelines for image sitemaps.
- Submit to Search Engines: Submit your image sitemap to major search engines like Google through their webmaster tools.
Enhancing Visibility in Search Results
An image sitemap boosts your website’s visibility in search results. It gives search engines detailed info about your images. This increases your chances of showing up in image search results.
Here are some benefits of using an image sitemap:
- Increased visibility in image search results
- Better indexing of your website’s images
- Improved overall SEO due to more complete site crawling
To illustrate the process, consider the following example of an image sitemap entry:
<url>

<loc>https://example.com/sample-image.jpg</loc>

<image:image>

<image:loc>https://example.com/sample-image.jpg</image:loc>

<image:caption>Example image caption</image:caption>

</image:image>

</url>
By following these steps and creating an image sitemap, you can give your website a competitive edge in search engine rankings. It also improves user experience by making your content more discoverable.
Lazy Loading: A Step Towards Efficiency
Web pages are getting more image-heavy, making lazy loading key for better efficiency. Today, where user experience matters most, it’s essential to optimize image loading. This helps keep visitors and boosts engagement.
Lazy loading delays image loading until they’re needed, usually when they’re in view. This method speeds up page loads and cuts down on bandwidth use. It’s good for both website owners and users.
What is Lazy Loading?
Lazy loading is a way to improve image loading on web pages. It loads images only when they’re about to appear in the viewport. This is great for pages with lots of images or long content.
By not loading unseen images, lazy loading cuts down on data transfer. This makes pages load faster and perform better. It’s a big help for those with slow internet or mobile users.
Benefits for Performance and User Experience
Lazy loading has two main benefits. It boosts performance by reducing the initial page load. This makes pages load faster and can improve SEO rankings. It also makes user experience better by letting users interact with visible content sooner.
Also, lazy loading can save money on bandwidth, which is a big plus for high-traffic sites or those with large images. By only loading images when needed, sites can use less bandwidth. This can lower hosting costs.
In summary, lazy loading is a simple yet powerful way to improve image loading on websites. By understanding and using it, web developers can make their sites perform better and offer a better user experience.
Evaluating Image Quality
Finding the perfect balance between image quality and file size is a delicate task. It’s like Goldilocks – not too big, not too small, but just right. The goal is to find a “sweet spot” where the file is small but quality loss is almost invisible.
When evaluating image quality, several factors come into play. You want the image to be clear and appealing while being optimized for the web. This means understanding the trade-offs between formats, compression levels, and resolution.
Striking the Balance Between Quality and Size
Finding the right balance between image quality and file size is key. If the file size is too large, it can slow down your website. This hurts user experience and SEO. On the other hand, if the image is too compressed, it may lose important details.
- Use the right format: Different formats have different strengths. For example, JPEG is great for photographs, while PNG is better for graphics.
- Adjust compression levels: Most image editing tools allow you to adjust the compression level. Experiment to find the level that works best for your image.
- Consider resolution: Ensure the image resolution is appropriate for its intended use on your website.

Tools for Image Quality Assessment
Several tools can help you assess and optimize image quality. These tools provide insights into the best compression levels and formats for your images.
- Image editing software: Tools like Adobe Photoshop and GIMP offer advanced features for editing and optimizing images.
- Online compression tools: Websites like TinyPNG and ImageOptim can help compress images without significant quality loss.
- Quality assessment tools: Some tools can analyze your images and provide recommendations for improvement.
By using these tools and techniques, you can ensure your images are high-quality and optimized for the web. This provides a great user experience without compromising on performance.
The Role of CDNs in Image Delivery
Content Delivery Networks (CDNs) are key in making images load faster on websites. A Content Delivery Network is a network of servers that store and serve content, like images. This helps cut down the distance between users and the content they want.
Images load quicker because of CDNs. They store images on servers near users. This cuts down on wait time and makes browsing better.
What is a Content Delivery Network?
A CDN is a network of servers around the world. These servers keep copies of website content, like images. When someone wants an image, the CDN sends them to the nearest server.
For example, if someone in New York wants an image from Los Angeles, a CDN can send it from a New York server. This makes the image load much faster.
How CDNs Improve Image Load Times
CDNs make images load faster in several ways:
- They cut down the distance between users and image servers.
- They store images in many places, so fewer requests go to the main server.
- They use tricks like compression to make images load quicker.
Using a CDN can really help a website’s performance, says web.dev. It makes images load faster, which is good for everyone.
| Benefits of CDNs | Description |
|---|---|
| Faster Image Load Times | CDNs make images load quicker by reducing distance. |
| Improved User Experience | Quick image loading makes users happier, leading to more engagement. |
| Reduced Server Load | CDNs spread out the work, so the main server doesn’t get too busy. |
Using CDNs helps businesses get images to users fast all over the world. This makes users happy and helps websites rank better in search engines. Fast page load times are important for SEO.
Future Trends in Image Optimization
The world of image optimization is about to change a lot. This is thanks to new AI tech and image formats. By 2026, we’ll see a big change from SEO to GEO. Generative Engine Optimization makes content easy for AI to understand.
This change will affect how we optimize images. AI is getting smarter, so image processing will change a lot.
AI Technologies in Image Processing
AI is changing how we handle images. AI-powered tools can compress images, remove noise, and create alt text. This makes image optimization faster and better.
Using AI in image processing has many benefits. These include:
- Automated image compression
- Enhanced image quality assessment
- Intelligent alt text generation
The Growing Popularity of AVIF Format
AVIF is becoming more popular for image optimization. AVIF has better compression efficiency and supports features like transparency and HDR.
AVIF beats JPEG and PNG in many ways. Here’s a comparison:
| Format | Compression Efficiency | Transparency Support | HDR Support |
|---|---|---|---|
| JPEG | Medium | No | No |
| PNG | Low | Yes | No |
| AVIF | High | Yes | Yes |
As more browsers support AVIF, it will likely become the top choice for web images.
Recap: The Essentials of Image Optimization
Image optimization is key in Technical SEO today. It’s not just about making images look good. It’s about making them work well with search engines too.
By learning the basics of image optimization, you can make your website faster and better for users. This is important for both performance and SEO.
Good image optimization means using the right tools and techniques. This includes compressing images, choosing the best formats like WebP, and writing clear alt text. These steps help your site load faster and rank higher in search results.
Practical Takeaways
To keep up, use proven image optimization methods. This means using tools for compression, making images responsive, and using CDNs for quicker image delivery.
Staying Current
New technologies like AI and formats like AVIF are changing image optimization. It’s important to keep up with these changes. This way, your website stays competitive and offers the best user experience.